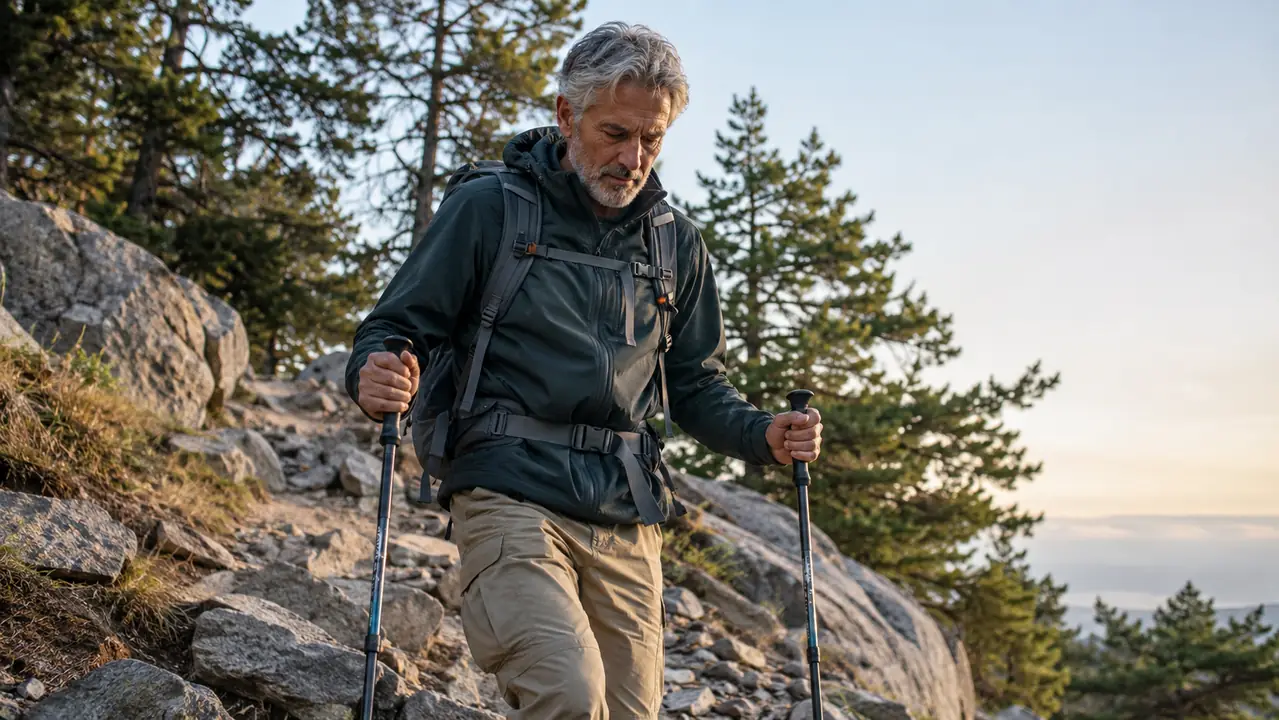
The first time I used trekking poles on a steep descent, I was sure I was doing it wrong. I had brand new poles, the first pair I ever owned, I had the trail, and I had a left knee that started complaining about halfway down every long downhill. But nobody had ever shown me where to plant the tips, how long to set the shafts, or what my hands were supposed to be doing. So I did what most people do: I let the poles dangle from the wrist straps and used them about as often as I used my car's emergency brake on a straight road.
That did not last. I bought the Black Diamond Trail poles in the first week of April, and I have used them on every hike over about five miles since. By the third or fourth outing, my left knee felt better on descents, not cured, just better, and the poles stopped being something I carried and started being something I used. This is the method I settled on, written down the way I would explain it to a friend at the trailhead.
Start Every Descent With the Right Tool
The Black Diamond Trail poles are the pair I reached for all season: lightweight aluminum shafts, a fast one-handed FlickLock adjustment, and a foam grip that gives you room to choke up when the trail tilts. If you are shopping for your first pair or replacing an old one, this is the pole I would start with.
Amazon Check Today's Price on Amazon →Step 1: Set the Length for the Downhill Before You Need It
Most people set their poles once at the trailhead and never touch them again. That works fine on flat ground, but descents are a different animal. When you are going down, the ground drops away from you, and a pole that felt right on the flats will feel too long within the first few steps. You end up reaching down awkwardly, or the tip skips instead of planting, and you give up and let the poles swing.
The Black Diamond Trail poles use a FlickLock adjustment system, and you can change the length one-handed, on the go, in a couple of seconds. I set my poles about 5 to 8 centimeters shorter for a steep descent than I use on the flats. The exact number depends on the pitch of the trail; the steeper the drop, the shorter the pole. The goal is simple: when the tip is planted just below you on the slope, your elbow should still have a comfortable bend in it. If your arm is straight or your shoulder is hiked up, the pole is too long.
Do this before the descent starts, not in the middle of it. Stop at the top of the drop, flip the locks, shorten both poles, and check the length by planting one tip and bending your elbow. It takes twenty seconds and it saves you from fiddling with the locks while you are trying to balance on a steep pitch. The Trail poles adjust from 100 to 140 centimeters, and I keep mine set near the middle for most hiking, then drop them five to eight centimeters for a real descent. I learned the hard way in June on the Stuart Peak trail: I left the poles at their flat-ground length, and by the third switchback my arms were straight, my shoulders were up around my ears, and the tips were skittering off the rocks instead of planting. Tom caught up, shortened his, and walked down like it was nothing. I stopped, shortened mine, and the rest of the descent felt like a different hike. Now I do it automatically every time the trail tips down.
Step 2: Plant the Tip Ahead of Your Feet, Not Beside Them
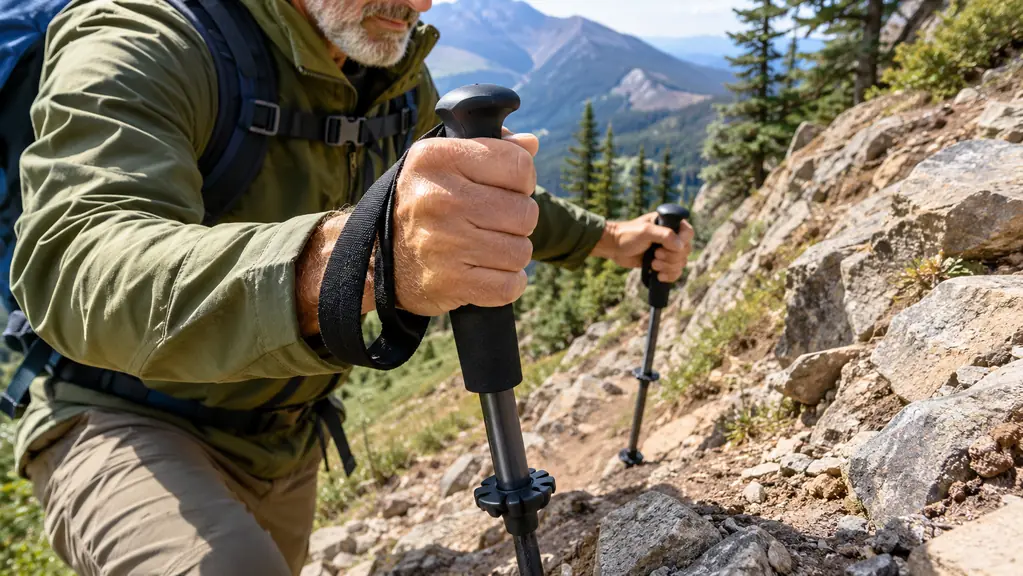
The most common mistake I see on descents is planting the pole right next to the foot. When the tip is beside you, it does almost nothing. Your weight is already over your feet, so the pole is just along for the ride. The whole point of a pole on a downhill is to give you a third and fourth point of contact, and that only works if the tips are doing something your feet are not.
On a descent, I plant each tip slightly ahead of my feet and slightly downhill, so the pole is angled back toward me. The carbide Tech Tips grip rock, dirt, and ice, and on loose trail I press down through the pole as I step. It is not a dramatic motion. You are not stabbing the ground or lunging. You are just letting the pole take some of the weight that would otherwise land on your knees with every step.
Think of it as a rhythm: pole, step, pole, step. The left pole moves with the right foot, the right pole with the left foot, just like walking. Once the rhythm clicks, you stop thinking about your hands entirely and your feet just follow the poles down the hill. For me it clicked on a July descent off Blue Mountain, a trail that drops about a thousand feet in a mile and a half. For the first ten minutes I was still thinking about where each tip was going, and then somewhere in the middle I realized my hands had stopped asking questions. Each pole was landing a little ahead of the opposite foot, taking a little weight, and my left knee was not doing its usual complaining. I did not plan any of it; it just happened once the poles were the right length and the tips were ahead of me. That is the whole method, really: set the length, plant ahead, and let the rhythm take over.
Step 3: Choke Up on the Foam Grip for Steep Pitches
The Black Diamond Trail poles have an extended foam choke-up section below the main grip, and on a steep descent that section earns its keep. When the trail gets really steep, I slide my hands down onto the foam and grip the shaft lower, closer to the tip. This effectively shortens the pole without touching the FlickLock, which is handy when you are in the middle of a pitch and do not want to stop.
Choking up also changes the angle of your arm. With your hand lower on the shaft, your elbow bends more, your shoulder relaxes, and you can plant the tip right below you without reaching. It is the same idea as moving your hand down a shovel handle when you need more control. On uneven terrain, where the angle of the ground changes every few steps, the foam section lets me adjust my hand position constantly without ever breaking stride.
The foam grip also happens to be comfortable in warm weather, which matters more than you would think by August. My hands stay comfortable on the foam even on warm days, and I never felt like I was going to lose my grip on a long descent.
Step 4: Use the Wrist Straps the Way They Were Designed
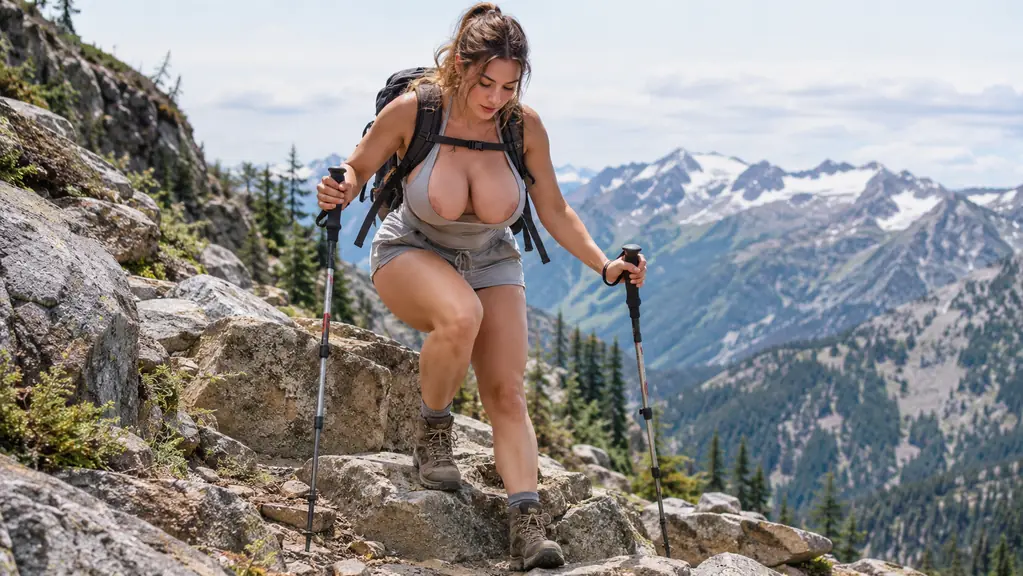
Here is the thing about wrist straps that took me years to learn: you are supposed to push down on them, not hang from them. The strap should sit around the base of your thumb, not halfway down your palm. When you grip the handle and push down through the strap, the pole becomes an extension of your arm, and you do not have to squeeze the grip to keep it under control.
On a descent, I push down through the strap with each plant. That transfers weight from my legs into the pole, and it takes a surprising amount of load off my knees. If the strap is loose, you lose that connection and you end up death-gripping the handle, which tires your hands and forearms long before the trail levels out. I figured this out by accident on a September hike up the Rattlesnake, when my left strap worked loose somewhere on the climb. Coming down, I kept squeezing the grip to keep the pole from flopping, and by the bottom my forearm ached like I had been chopping wood. Tom pointed out that the strap was loose, I snugged it around the base of my thumb, and the next descent felt like cheating. Now I check both straps at the trailhead every single time, the same way I check the laces on my boots.
If you have never adjusted a strap properly, do it at home before you go out. Put your hand up through the loop from underneath, then bring the strap down over the back of your hand and snug it around the base of your thumb. When you grip the handle, the strap should be snug enough that you can push down without the web of your thumb taking all the pressure.
Step 5: Keep the Tips Down and Let the Poles Brake for You
The last step is the one that ties everything together: keep the tips planted and let the poles do the braking. On a steep descent, gravity wants to speed you up. Your instinct is to lean back and dig in your heels, but that just jars your knees and makes your feet slide. With the poles, you have a better option.
Plant both tips below you, lean slightly forward from the ankles, and let your arms take some of the load as you step down. The carbide tips hold on rock and dirt, and the shafts flex just enough to absorb some of the shock. You are not skiing, but you are also not free-falling. Each step becomes a controlled, three-point move: two feet and one pole, or one foot and two poles on the steepest sections.
On loose trail, I plant both poles a little wider than my feet, which gives me a stable triangle and keeps me from sliding. On rocky steps, I plant both tips below the step before I commit my weight. It is slower than walking down without poles, but it is steadier, and at the bottom of the hill my left knee knows the difference. The clearest proof came on a late-October hike on the Lolo Peak approach, where the trail drops through a long field of loose scree. The two of us came down it with the poles planted wide, taking our time, and I never once felt my feet start to slide. A hiker without poles passed us going down, skidded twice, and spent the rest of the descent picking his way sideways. I am not fast on descents and I do not care. I get to the bottom with my knee still talking to me, and I can do it again the next day.
What Else Helps
A few things made the whole season easier. The carbide Tech Tips that come on the Trail poles bite into rock, dirt, and ice, and on pavement I switch to the rubber tips, which Black Diamond sells separately. I also keep the FlickLocks clean and snug; a lock that has worked loose will let the shaft slip, and a slipping shaft is worse than no pole at all. When the poles are not in my hands, they fold down to 64 centimeters and ride in the back of the Outback without complaint. And if your knees are already sore by the time you reach the descent, shorten the poles a little more and take the switchbacks if there are any. The poles are a tool, not a repair kit.
By the third or fourth outing, my left knee felt better on descents. Not cured, just better, and that was enough to make the poles a permanent part of my kit.
Take the Load Off Your Knees on Every Descent
A full season of Montana descents taught me that the right poles, set the right length and planted ahead of my feet, make a real difference. The Black Diamond Trail poles are lightweight, adjustable one-handed with the FlickLock, and still going strong after seven months of use.
Amazon Check Today's Price on Amazon →