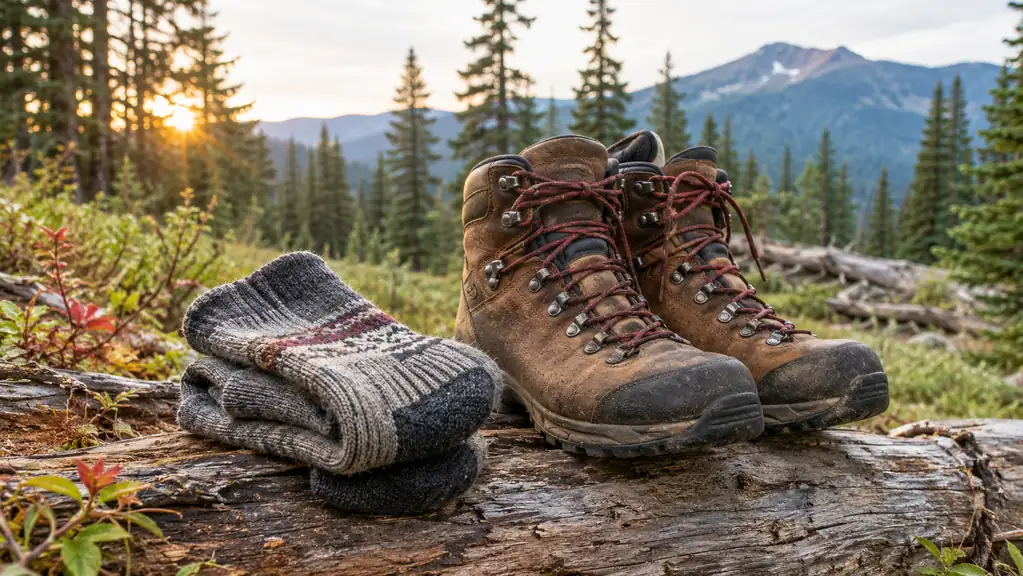
I spent most of thirty years blaming my boots for blisters. It took me a long time to admit the truth: my boots were fine, and my socks were the problem. In the first week of April this year I retired my old socks and switched to Darn Tough Vermont Hiker Micro Crew socks. I have hiked roughly three hundred miles since then, and I have not had a single blister.
I am not a doctor, and I am not a podiatrist. I am a retired middle school science teacher who lives outside Missoula, Montana, and I have been hiking for about thirty years. Most weeks from May to October I get out for a day hike, and every summer I take two or three two-to-three-night backpacking trips. My husband Tom joins me on most of them. This is the routine that worked for me this season. If you are an everyday hiker or a weekend backpacker who is tired of stopping to tape your heels, this is how I would do it.
Start With the Sock That Stopped My Blisters
The Darn Tough Vermont Hiker Micro Crew is the sock I switched to in April. It is a midweight wool blend with a stretch fit, made in the USA, and it carried me through a full season of day hikes and backpacking trips without a blister. If you want to try the same starting point, this is the pair.
Amazon Check Today's Price on Amazon →The Routine, Step by Step
I have broken this into five steps. They are in the order I do them, and I do all of them every hike. None of them is complicated. The hard part is being honest about what your feet are telling you.
The order matters. If you skip straight to taping your heels without fixing the sock, you are treating the symptom. I know because I did it for years. The sock is the foundation, and everything else builds on top of it, so do not rush past Step 1.
Step 1: Start With a Sock That Fits Your Actual Foot
Before I talk about taping, lubricants, or lacing tricks, I want to talk about the sock itself. The Darn Tough Vermont Hiker Micro Crew is a medium weight sock in a wool blend: 58% Merino wool, 40% nylon, and 2% elastane. I am not going to pretend I read the label before I bought them. I bought them because a friend at the trailhead recommended them, and then I read the label after the first hike.
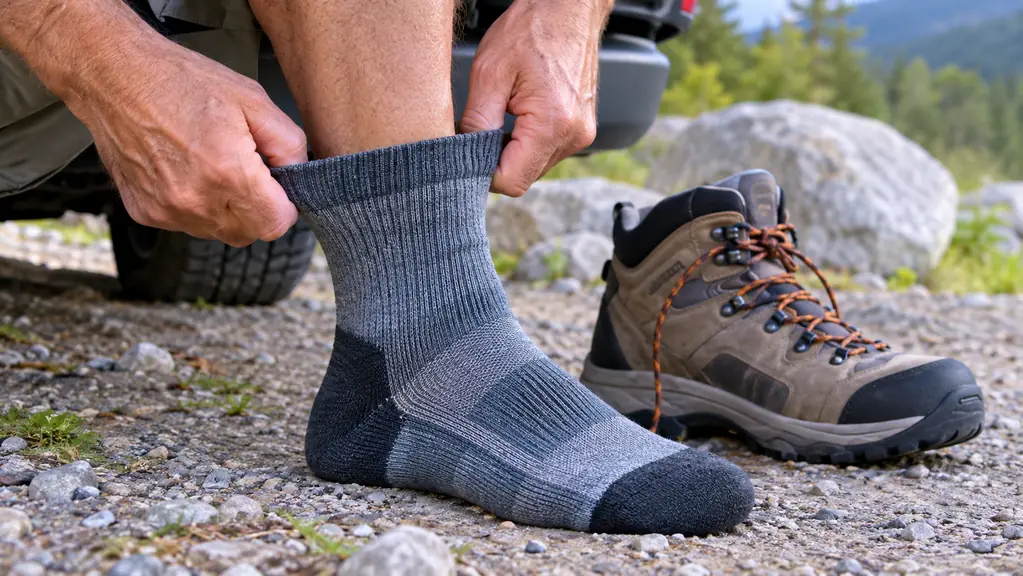
Here is the part that mattered to me: the stretch fit. My foot is a women's size 9 with a slightly wide forefoot, and a lot of socks squeeze my toes together or bunch up at the heel. These socks pull on easily and stay where I put them. The micro crew height lands just above my ankle, which is the height I like for day hikes. I can only vouch for the Hiker Micro Crew because that is the one I have worn all season.
One more thing: I bought three pairs at the same time, in the first week of April, and I rotate them. That sounds like a small detail, but it means I never put on a damp sock because I was too lazy to wash the other pair. Rotating three pairs also means each pair gets a full day to air out between hikes. If you only buy one pair, you will be tempted to wear it two days in a row, and that is how blisters start.
Step 2: Break In Your Boots With Your Hiking Socks On
The second step is about the combination of sock and boot. A good sock cannot fix a boot that is too small, and a good boot cannot fix a sock that is sliding around. You need to test them together before you trust them on a long trail. I learned this the hard way years ago, when I wore brand new boots on a ten-mile hike and spent the last three miles limping.
In April I bought the Merrell Moab 3 Mid Waterproof boots that I have worn all season. I also bought the Darn Tough Vermont Hiker Micro Crew socks. For about two weeks, I wore them together on short walks near home before I took them anywhere serious. I wore them around the house, I wore them to the grocery store, and I wore them on two-mile walks around the block. By the time the real hikes started, the boots were comfortable and the socks had settled into place.
If you are breaking in new boots, do not save your new socks for the trail. Wear them during the break-in. That way, when you finally hit the trail, you are not trying to learn two new things at once. You are just hiking. And if you are not breaking in new boots, still wear your hiking socks around the house for a day or two. You want to know how they feel before you are five miles from the trailhead.
Step 3: Lace Your Boots for Your Foot, Not for the Photo
This is the step I skipped for years. I used to lace my boots the same way every time, pull them as tight as they would go, and then wonder why my feet hurt by mile four. Now I lace them differently depending on where I feel pressure. It takes an extra minute at the trailhead, and it saves me from a miserable afternoon.
If I feel pressure across the top of my foot, I loosen the laces over my instep and keep the ankle snug. If my heel feels like it is lifting, I tighten the top laces and make sure the heel of the sock is sitting where it should be. The Darn Tough Vermont Hiker Micro Crew has a stretch fit, which means it does not add a lot of bulk under the laces. That makes it easier to feel what the boot is actually doing to my foot.
I also stop and re-lace if something feels off. It takes thirty seconds. A hot spot that starts at mile two because my laces were too tight is a hot spot I will feel at mile eight. Fix it when you first notice it, not when it becomes a blister. My husband Tom thinks I stop too often to fiddle with my boots. He also has not had a blister this season, so I will keep fiddling.
Step 4: Stop at the First Hot Spot, Not the First Blister
A hot spot is a warning. It means something is rubbing, and if you keep going, that rub is going to turn into a blister. I used to think stopping was weak. Now I think stopping early is the whole trick. The most important step in blister prevention is not a product. It is the willingness to take your boot off on the trail.
If I feel a hot spot, I stop, take off my boot, and check my sock. Sometimes the sock has twisted, and I just straighten it. Sometimes there is a piece of grit inside the boot, and I dump it out. Sometimes the laces are too tight, and I loosen them. The Darn Tough Vermont Hiker Micro Crew socks have been reliable for me, but they are still socks. They can still twist if I put them on carelessly, and I still have to pay attention.
The other thing I do is stop for water and let my feet air out for a few minutes. On long day hikes I carry a small daypack with a Sawyer Mini filter in it, so I can stop at a stream and take a real break. Ten minutes with my boots off can save me the last five miles of the hike. On backpacking trips, I do the same thing at lunch. It feels indulgent, and it works.
Step 5: Wash Them the Way the Label Says
Here is where I used to ruin good socks. I would throw them in the washing machine with everything else, dry them on high heat, and then wonder why they stopped fitting. The product care instructions for the Darn Tough Vermont Hiker Micro Crew say hand wash only, so that is what I do. I know hand wash only sounds fussy. It is less fussy than a blister.
I hand wash them in the sink with a little soap after every couple of hikes. I rinse them until the water runs clear, squeeze out the extra water, and hang them over the shower rod to dry. It takes about five minutes. In exchange, the socks have kept their stretch fit all season, and I have not had a single blister in the roughly three hundred miles I have hiked in them.
One note: if you are used to tossing socks in the dryer, this will feel like a chore for the first week. Then it becomes routine. I wash all three pairs at once, so I always have a clean pair ready for the next hike. And because they are made in the USA, I feel good about the purchase every time I pack them.
What Else Helps
Switching socks was the biggest change I made this season, but it was not the only change. I also wore my Merrell Moab 3 Mid Waterproof boots for two weeks before I trusted them on a long trail, and I used my Black Diamond Trail poles on every hike over about five miles. The poles did not cure my knee, and I am not going to claim they did. They helped with comfort and balance on descents, and that was enough.
The other thing that helped was simple: I stopped buying one pair of socks and started rotating three. The Darn Tough Vermont Hiker Micro Crew socks are the only socks I have hiked in since April. Three pairs, rotated, hand washed, and ready to go. That routine has been easier to maintain than any blister treatment I ever used. If you are on the fence about spending money on a good pair of socks, think about how much you have spent on moleskin and tape over the years.
One more thing I want to mention: I do not use any special blister balms or powders. I tried them years ago, and they did not hurt, but they did not solve the problem either. The problem was always a sock that moved or a boot that was not broken in. Once I fixed those two things, the rest of the routine became simple. Your mileage may vary, but that is the honest version of what worked for me.
What I Would Tell a Friend at the Trailhead
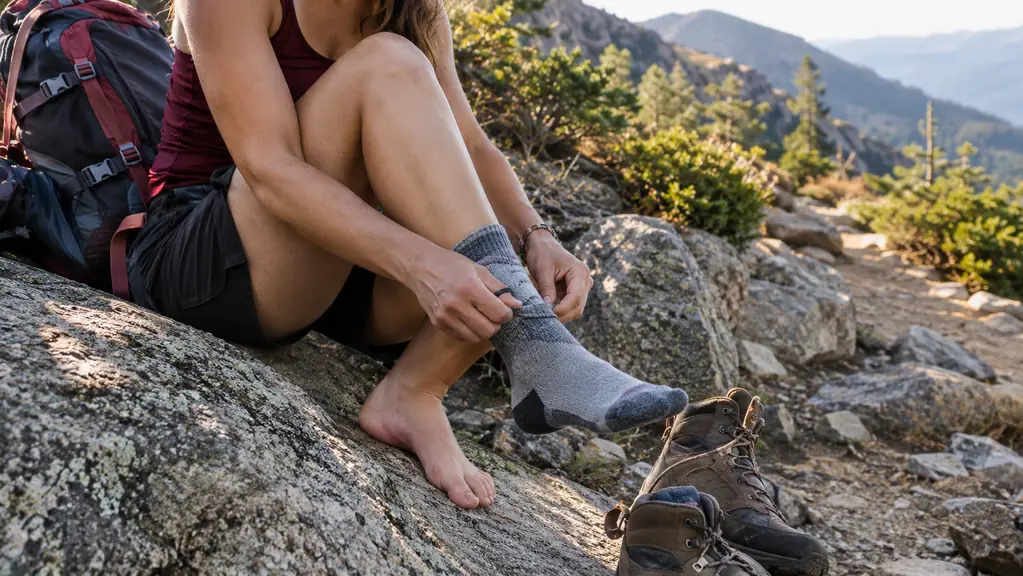
If we were standing at the trailhead and you asked me how to stop getting blisters, I would not hand you a roll of tape. I would tell you to start with your socks. Buy a pair that fits your foot, wear them around the house, break them in with your boots, and pay attention to the first hot spot. That sounds too simple to work. It is the simple stuff that I skipped for most of thirty years.
One more thing: do not wait until the day of a big hike to test your socks. The worst place to learn that a sock does not work for you is on the side of a mountain with eight miles left. Test everything on a short walk first. That advice has saved me more pain than any product I have ever bought.
Three hundred miles in Darn Tough Vermont Hiker Micro Crew socks, and not one blister.
Give Your Feet a Real Chance This Season
If you are tired of taping your heels before every hike, start with the sock. The Darn Tough Vermont Hiker Micro Crew is the sock I switched to in April, and it is the change I would make again. It is a midweight wool blend, made in the USA, and it has carried me through a full season without a blister.
Amazon Check Today's Price on Amazon →