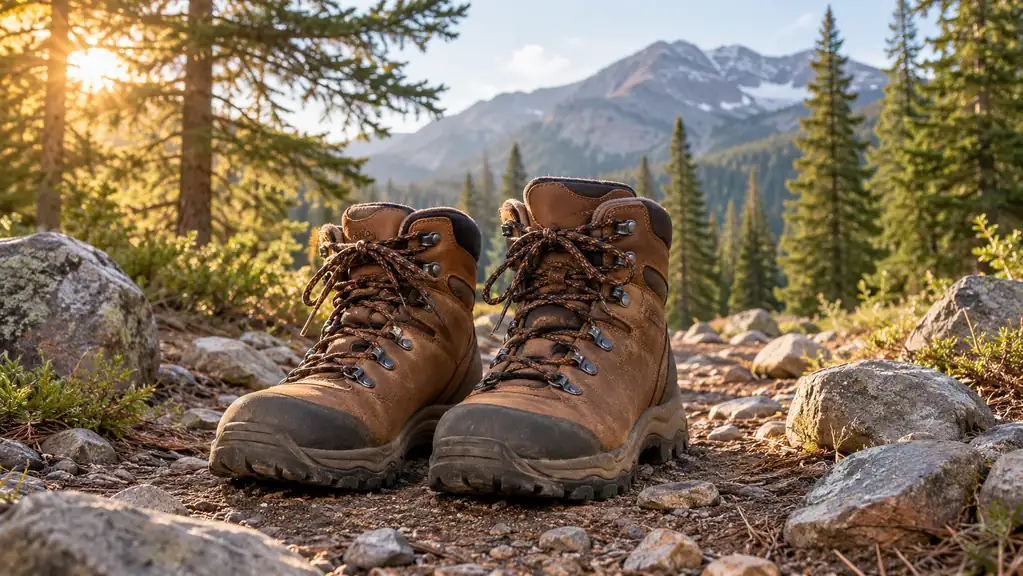
The first rule of new hiking boots is that they are not hiking boots yet. They are stiff, untested versions of the boots they will become after a few dozen miles. I learned that lesson years ago, long before I bought the Merrell Moab 3 Mid, when I took a brand-new pair on a nine-mile loop and spent the last three miles with a hot spot on each heel. The boots were fine. My planning was not.
When I retired my old pair this April and ordered the Merrell Moab 3 Mid Waterproof, I decided to do the break-in properly. The boots have a leather outer, a mesh lining, a foam insole, and a lace-up closure. The listing calls them cushioned, waterproof, and neutral in pronation support, with a plain toe and a flat heel. None of that matters if you skip the break-in. This is the method I used: about two weeks of short walks near home, then roughly 300 trail miles since. It worked.
Start with a boot that fits from day one
The Merrell Moab 3 Mid Waterproof is the pair I have worn on every trail day since April. If you are shopping for a new pair, the method below works best with a boot that fits before you ever take it outside.
Amazon Check Today's Price on Amazon →Why the Break-In Matters
A new pair of boots is stiff in ways you do not notice until you are on a trail. The sole does not flex with your foot, the upper holds its factory shape, and every step feels like the boot is breaking you in instead of the other way around. That stiffness is not a defect. It is just the starting point.
The Merrell Moab 3 Mid is cushioned and waterproof out of the box, but cushioning and waterproofing do not make a boot comfortable. Fit and flexibility do, and both develop with use. The method below is the one I used this spring, and it took about two weeks of short walks before the boots felt like mine.
Step 1: Wear Them Around the House First
Before the boots see a trail, wear them indoors. I put mine on with the same socks I planned to hike in, thin wool hiking socks, and walked around the house for an hour or two each evening. The kitchen floor, the hallway, the stairs to the basement. Stairs matter because they bend the boot at the toe and work the heel pocket in a way flat floors cannot. I also wore them while I made dinner and while I sat on the porch reading. The point is to put hours on the boots before you put miles on them. The boots will not look any different, but they will feel different.
The goal here is not to break the boots in. It is to find out whether the fit is right before you are three miles from the car. The Moab 3 Mid has a plain toe and a flat heel, and the listing describes a foam insole and maximum cushioning. For my slightly wide forefoot, the fit was good from the start, with no pinching across the widest part of my foot. If a boot pinches indoors, it will only get worse on a long descent.
Do not skip this step even if the boots feel comfortable in the store. Comfort in a chair is not the same as comfort in motion. I wore mine for four or five evenings before I took them outside.
Step 2: Take Short Walks on Pavement
Once the boots feel like slippers indoors, take them on short walks on pavement. Not trails yet. A mile or two around the neighborhood, on sidewalks and gravel driveways, is enough. The idea is to flex the boots through a full walking motion without the variable terrain of a trail.
I did this for about a week. Every morning I walked the same two-mile loop, and I paid attention to where the boot rubbed. The first couple of days I could feel the boots around my ankles, which is normal for a mid-height boot. By the end of the week, I stopped noticing them entirely.
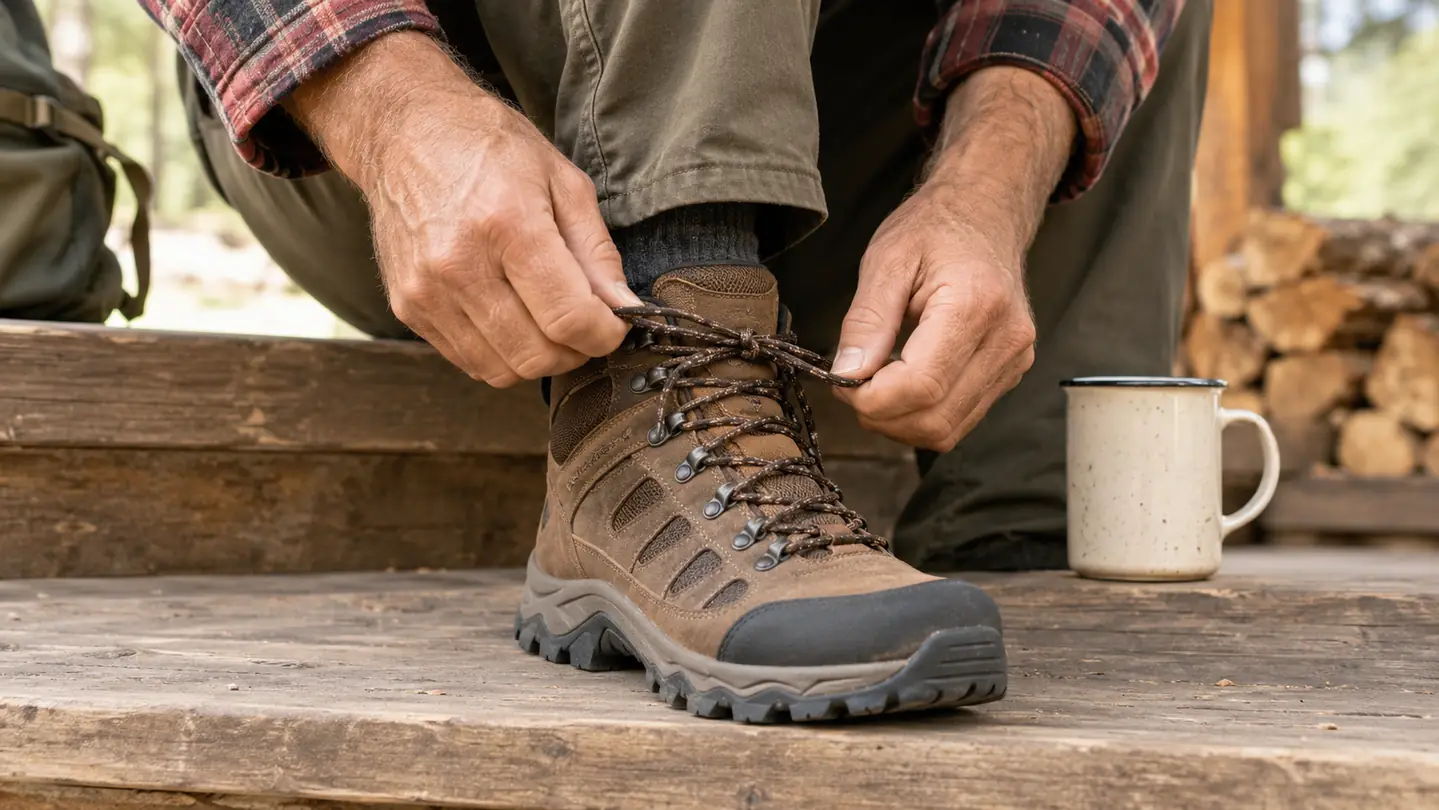
Pavement is also where you sort out your lacing. The Moab 3 Mid closes with a standard lace-up closure, and I found that keeping the lower laces snug and the top laces a little looser gave my ankle the room it needed. If you feel pressure across the top of your foot, loosen the laces over the instep and retighten after the boot bends a few times.
Step 3: Hit Easy Trails With a Light Pack
After about two weeks of short walks, the boots were ready for easy trails. I chose a flat, well-graded dirt path near Missoula, the kind of trail where you can walk and talk and not watch every step. The Moab 3 Mid is recommended for dirt surfaces, and this is where the real break-in begins.
I carried a light daypack with water and a snack, nothing heavy. Tom came with me on the first outing, and we kept the pace slow. The boots flexed more on the trail than they had on pavement, and I could feel the leather outer softening around my foot. The mesh lining stayed comfortable, and the waterproof build handled a damp patch of trail without issue.
Keep these first trail walks short. Two or three miles is plenty. The test is not how far you can go. It is whether your feet feel the same at mile three as they did at mile one. If they do, you are ready for a longer day.
Step 4: Add a Full Day Hike With Descents
This is the step most people skip, and it is the one that matters most for the Moab 3 Mid. A full day hike, six to eight miles, with at least one sustained descent. Descents are what punish a new boot. Your foot slides forward, your toes press against the front, and any weak spot in the break-in shows up fast. Climbs are forgiving. Descents are not.
My left knee gets sore on long descents, so I brought my trekking poles on this hike and took the downhill sections slowly. The boots flexed more in the first two miles of downhill than they had in all the flat walking combined. That is the break-in happening.
Check your feet at the halfway point. Take the boots off, look at your heels and the sides of your feet, and feel for hot spots. A hot spot is a warning, not a badge of honor. If you feel one, stop and adjust your socks or your lacing before it becomes a blister. I also checked the backs of my socks for dampness, since a wet sock is the next thing to a blister. I made it through this hike with nothing more than a little redness on one heel, which faded by the time we got back to the car.
Step 5: Listen to Your Feet and Adjust
The break-in does not end on a schedule. It ends when your feet stop telling you the boots are new. For me, that was about two weeks of short walks and then a handful of trail hikes. By the end of May, the Merrell Moab 3 Mid felt like the boots I had worn for years, and I stopped thinking about them entirely. That is exactly what you want from a hiking boot.
Part of listening is knowing when to adjust. If a boot rubs in the same spot every time you wear it, try a different lacing pattern. If your toes feel cramped on descents, the boots may be too small, and no amount of break-in will fix that. The break-in softens the boot. It does not change the size.
The other part is knowing when to stop. If you feel sharp pain, numbness, or a blister forming, take the boots off and give your feet a rest. A break-in that hurts is not working. The Moab 3 Mid is built with neutral pronation support and maximum cushioning, and for most people it will settle in without drama. Give it time, and it will meet you halfway.
How Long Does It Take?
For me, the Merrell Moab 3 Mid was comfortable after about two weeks of short walks near home, and fully settled after the first few trail hikes. That matches what I tell people who ask: plan on two to three weeks of regular wear before a long hike. Some boots take longer, especially if you only wear them on weekends. The break-in is not a race. The listing puts the boots at 10.4 ounces, light enough that the break-in is about the upper and the lining, not about hauling dead weight.
The leather outer and mesh lining soften with use, but they do not stretch much. If the boots feel too tight across the widest part of your foot on day one, they will probably still feel tight on day thirty. Size and fit have to be right before the break-in starts.
My first long hike in the Moab 3 Mid was a six-mile loop in early May, and I remember being surprised at how little I thought about my feet. That is the real test. A broken-in boot disappears from your attention. You notice the view, the temperature, the weight of your pack, and not once do you wonder whether your heel is going to blister.

What Else Helps
A few things made the break-in easier, and none of them cost anything. Wear the socks you plan to hike in, not the thin socks you wear around the house. Change your lacing for descents if your toes feel crowded. And give the boots a day off between early break-in walks so the materials can relax. The boots are listed for fall and casual use, and I have found them comfortable in cool weather.
If you are breaking in a new pair for a big trip, start at least three or four weeks ahead. Two weeks of short walks got me there. Your feet may need more, and there is no shame in that. The goal is to show up at the trailhead with boots that feel like old friends, not new ones.
One more thing: do not leave the boots in a hot car or next to a heater to speed things along. Heat can shrink or warp the materials, and it does not do the waterproofing any favors. Slow and steady is the whole method.
Two weeks of short walks near home, then about 300 trail miles since. The break-in worked because I did not rush it.
If you are starting with a new pair of the Merrell Moab 3 Mid, give them the two weeks. Wear them around the house, walk the neighborhood, take the easy trails, and save the long descents for when they are ready. The boots will meet you halfway, and so will your feet.
Ready to start your own break-in?
The Merrell Moab 3 Mid Waterproof has been my only hiking boot for a full season of day hikes and about 300 trail miles. If you are looking for a cushioned, waterproof boot to break in the right way, this is the pair I would buy again.
Amazon Check Today's Price on Amazon →