
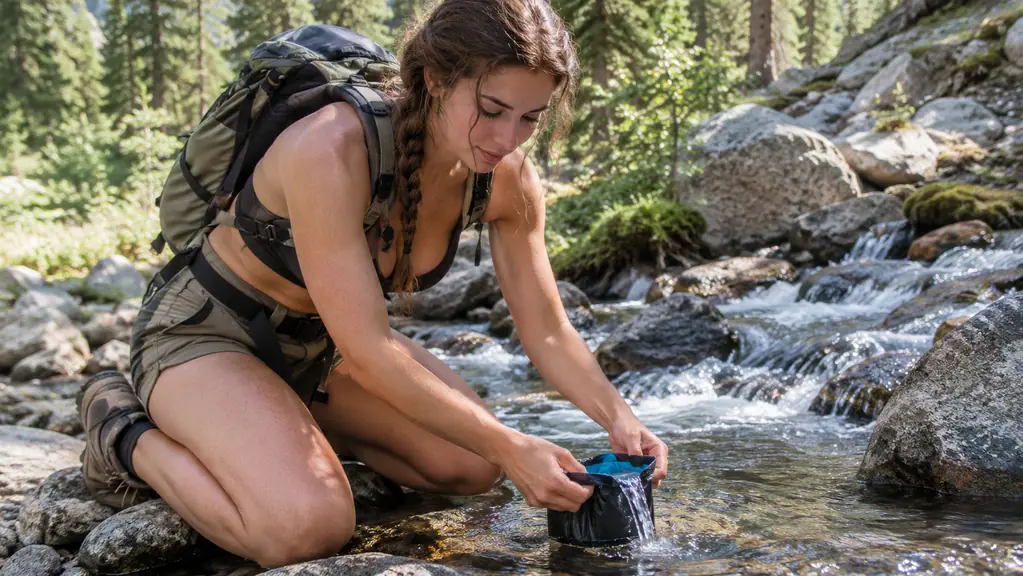
The first time I filtered water on a trail, I stood there reading the side of the pouch like it was a pop quiz I had not studied for. I had carried the Sawyer Mini for two trips before I finally stopped guessing and worked out a routine I trusted. This is that routine. If you are new to filtering, or you have a Sawyer Mini sitting in a drawer because the whole thing felt fiddly, this is how I use mine.
The Sawyer Mini is my only filter. I bought it in the first week of April this year, and I have carried it on every backpacking trip and long day hike since. It weighs 41 grams, which is nothing in the bottom of a daypack, and it screws onto the included 16-ounce pouch, a standard 28 mm disposable water bottle, or my hydration pack. Here is the step-by-step I actually use, plus the things I wish someone had told me in the parking lot.
The filter I trust for every trip
The Sawyer Mini has been in my pack since April. It is small enough to forget and simple enough to use without thinking.
Amazon Check Today's Price on Amazon →Step 1: Find Water Worth Filtering
I look for moving water first. A small stream or a spring coming out of a hillside beats a still pond every time, because moving water is less likely to have sat around collecting things I do not want to think about. I also go a little upstream of any trail crossing, and I avoid water with obvious foam, a bad smell, or a lot of algae. That is not a guarantee of anything, but it is a good start.
One thing I want to be straight about: the Sawyer Mini is a hollow fiber membrane filter. It protects against bacteria like Salmonella, Cholera, and E. coli, and against protozoa like Giardia and Cryptosporidium, and it removes microplastics. It does not remove viruses or chemicals. On the trails I hike in western Montana, that is a trade I am comfortable making. If you are heading somewhere with different water risks, read up before you go and decide for yourself.
I also carry a spare squeeze bottle, the kind that takes the same 28 mm threads. That way I can fill the pouch, filter into the bottle, and keep hiking while the next batch sits ready. It sounds like a small thing, but it cuts the time I spend standing next to a creek by a lot. On our first overnight in May, Tom and I stopped at a stream crossing around noon, and the whole refill took us under five minutes from kneeling down to walking on. That was the moment I stopped treating the filter as a chore.
Step 2: Fill the Pouch, Not the Filter
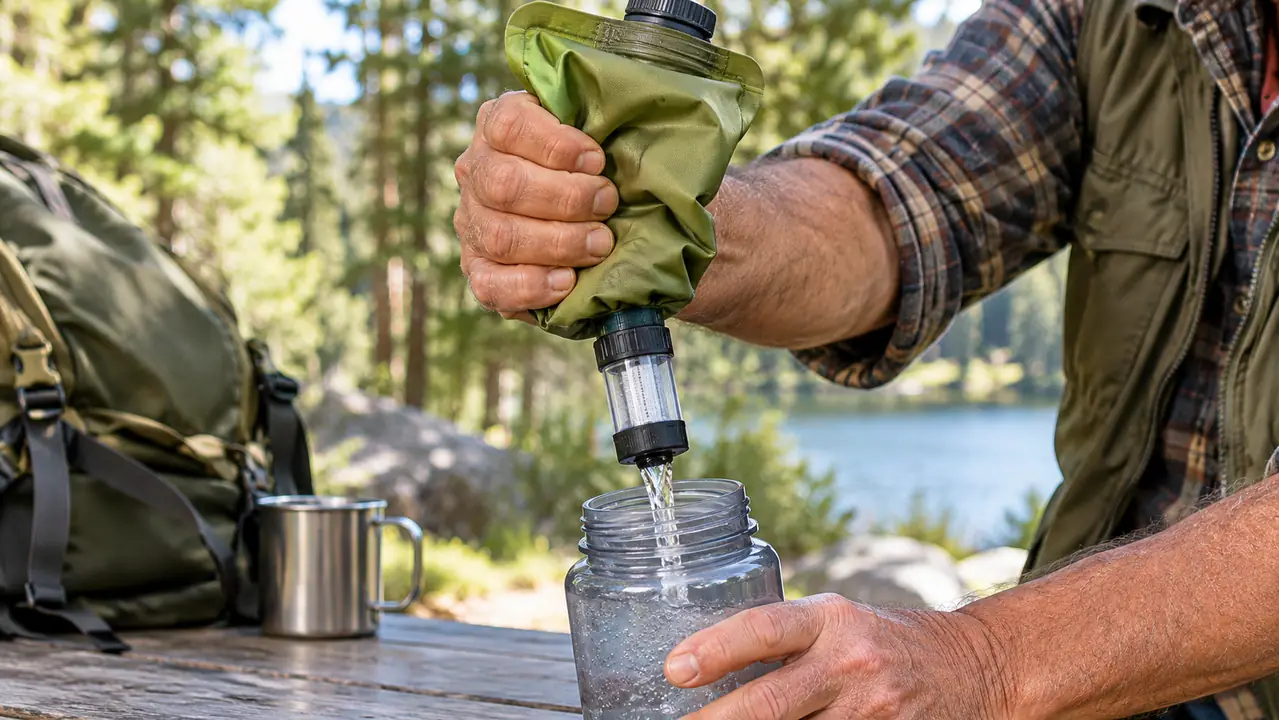
The included 16-ounce pouch is the part of this system that looks the most like a toy, so let me save you the mistake I made on my first trip: you fill the pouch, then you screw the filter onto it. You do not dip the filter into the stream. The filter is the part with the hollow fiber membrane. The pouch is just the dirty-water bag.
To fill it, I hold the pouch open with one hand, dip it into the current so the opening faces upstream, and let the water run in. I leave a little air at the top, because the pouch is easier to squeeze with some give in it. Then I screw the Sawyer Mini onto the pouch mouth, hand-tight. That is the whole assembly. It takes about ten seconds once you have done it a few times. On my first trip I overfilled the pouch to the brim, and then I could not get a good grip on it. A half-inch of air at the top makes all the difference.
If I am using a disposable bottle instead of the pouch, the same idea applies. The filter screws onto the bottle, and the bottle becomes the dirty-water container. I have used both, and I usually reach for the pouch because it packs flat when it is empty. The bottle is handy when I am near a spring where the water comes out of the rock in a trickle that is hard to catch in a wide pouch mouth.
Step 3: Squeeze, Don't Rush
Here is the part that surprised me: you do not need to squeeze hard. The Sawyer Mini has a maximum flow rate that sounds like a fire hose, but in real use, a steady, moderate squeeze gets the water through faster than a desperate death grip. I rest the filter over the mouth of my bottle, give the pouch a firm squeeze, and let it work. When the pouch starts to collapse, I stop, let it reinflate, and squeeze again.
That first trip, I squeezed like I was trying to juice an orange, and all I got was a sore hand and a slow trickle. The filter is rated for 100,000 gallons over its life, which tells you the membrane is meant to last. You do not have to force it. Steady and patient gets the bottle full faster than frantic. By the third trip, I had the rhythm down: three or four firm squeezes, a pause to let the pouch breathe, and the bottle was full.
I filter straight into my spare squeeze bottle, cap it, and move on. On a normal afternoon I can fill two bottles in a few minutes, including the time it takes to find a good spot and crouch down. When I am filtering for Tom and me, I just do the pouch twice. He carries his own water, but we both drink from the same filter, and it has never slowed either of us down.
Step 4: Drink Straight From the Source When You Want To
The Sawyer Mini comes with a drinking straw, and this is the feature I use more than I expected. When I am stopped at a stream and I do not want to break out the whole pouch-and-bottle routine, I screw the straw onto the filter, drop the filter into the water, and drink directly. It is the same hollow fiber membrane doing the same job. The water just comes straight up the straw.
I use the straw on day hikes where I am not carrying much water weight to begin with. I have also used it at camp when I wanted a drink without unpacking everything. The filter is small enough to fit in the palm of my hand, so the whole setup is about the size of a big spoon. On a hot afternoon in July, I remember kneeling at a creek on the way back down, drinking straight from the source, and thinking that this was the whole point of carrying a filter at all.
One habit I have gotten into: I always know which end of the filter has touched stream water. The intake side is the one that goes in the pouch or the stream. The drinking side is the one that goes in my mouth or pours into my bottle. Keeping those straight is the whole job of staying clean out there. I also make sure the straw is attached to the clean side before I put the filter away, so I never have to think about which end is which the next time.
Step 5: Backflush When You Get Home
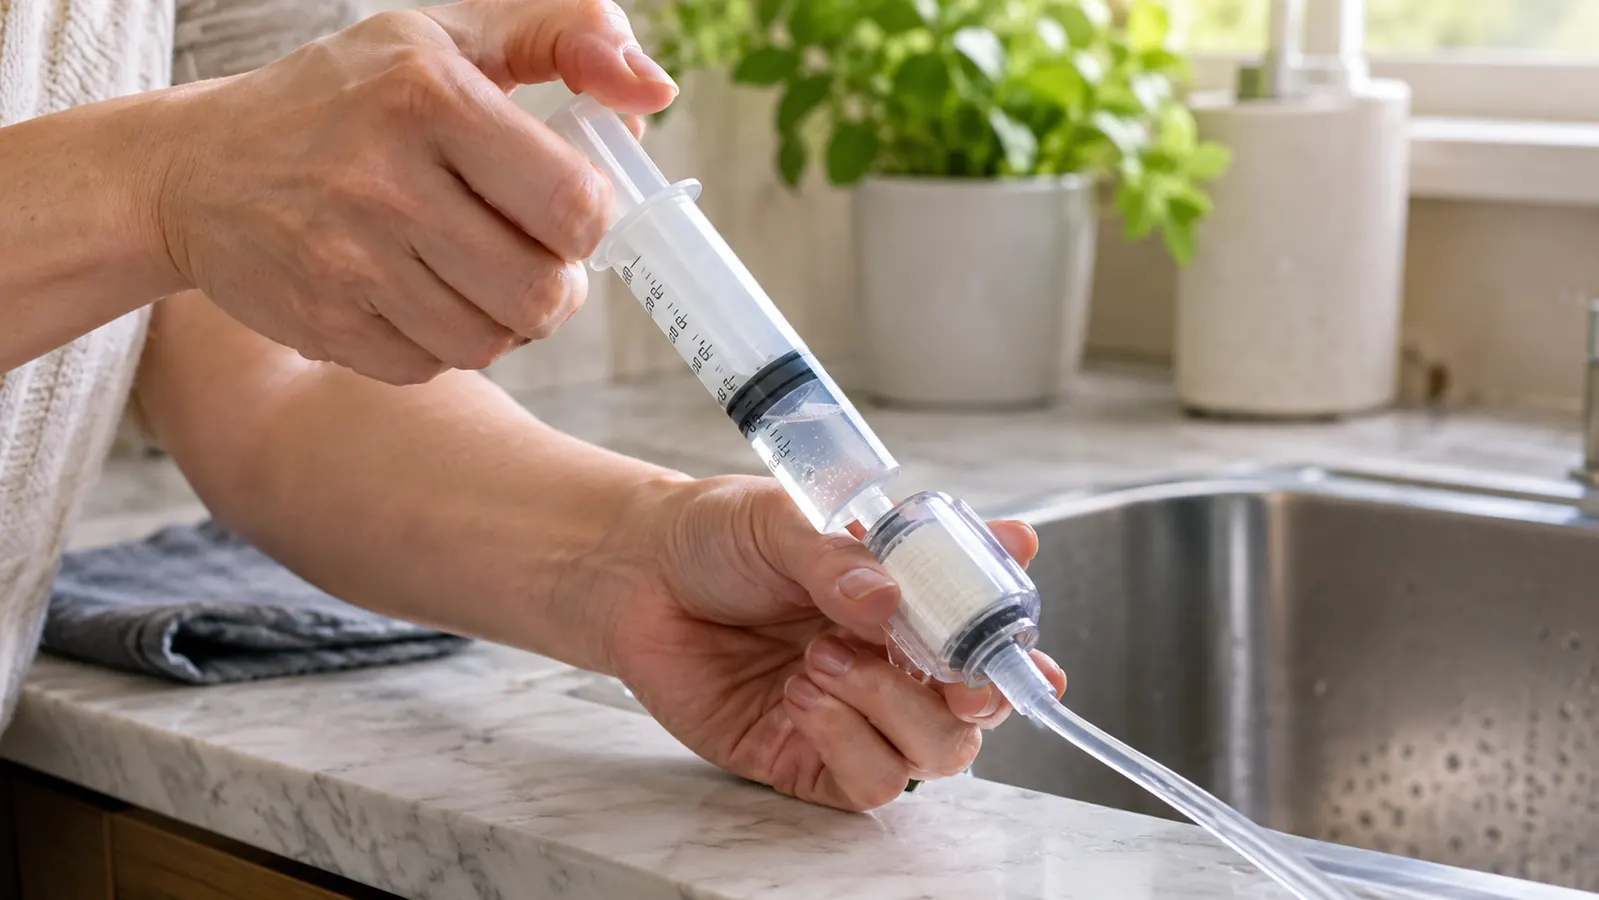
The included cleaning plunger is not optional, and I say that as someone who skipped it once and spent the next trip fighting a slow filter. After every trip, I fill the plunger with clean tap water, attach it to the drinking side of the filter, and push water backward through it until it runs clear. That pushes the trapped bits back out the intake side and keeps the hollow fibers flowing.
It takes about a minute. I do it in the kitchen sink, then I let the filter air dry with the caps off. The whole system stores in a small bag, and it is ready for the next trip. I also backflush after long day hikes where the filter saw real use, not just after overnight trips. If I filtered a lot of water, it gets cleaned. The one time I skipped it, after a weekend trip in June, the next squeeze came out as a sad little drip, and I have not skipped it since.
The plunger lives with the filter, always. I keep the pouch, the straw, the plunger, and the filter in one small stuff sack so nothing gets left behind. On a three-night trip in August, doing this once when I got home kept my filter running the same as it did in April. That is the whole maintenance routine, and it is the reason the filter has never let me down.
What Else Helps
A few things make the whole system easier. The spare squeeze bottle I mentioned is the biggest one, because it means I can filter a second batch while the first is already in my pack. A wide-mouth bottle on the receiving end also helps, since the filter fits over it without me having to aim. And I always carry a small bandana to wipe the outside of the pouch before I screw the filter on, so trail grit does not end up on the threads.
I also keep the Sawyer Mini in my daypack on long day hikes, even on trips where I expect to carry all my water. Water sources on a route change, and a 41-gram filter is cheap insurance. If I do not use it, fine. If I need it, it is there. On a day hike in September, a spring I had counted on was dry, and the filter turned a planned detour into a non-event. That alone has made it worth carrying all season.
The first time I filtered on a trail, I stood there reading the pouch like it was a pop quiz. Now the whole routine takes me a few minutes, and I do not think about it at all.
The One Mistake I See People Make
People treat the Sawyer Mini like it is fragile. It is not. The hollow fiber membrane is tough, and the filter is rated for 100,000 gallons. What actually breaks the system is neglect: leaving it wet in a stuff sack, skipping the backflush, or losing the plunger. Clean it when you get home, store it dry, and it will be ready when you are.
The other mistake is the opposite one: people assume that because the filter is small, it is not doing anything. It is doing the same job as a bigger filter, just in a smaller package. I have used the Sawyer Mini on every backpacking trip this season, and Tom drinks from the same filter. It has not let me down once, and I expect it to keep going for many seasons to come.
Ready for your next trip?
The Sawyer Mini is the filter I reach for every time. Small enough for a daypack, simple enough to use without a manual.
Amazon Check Today's Price on Amazon →